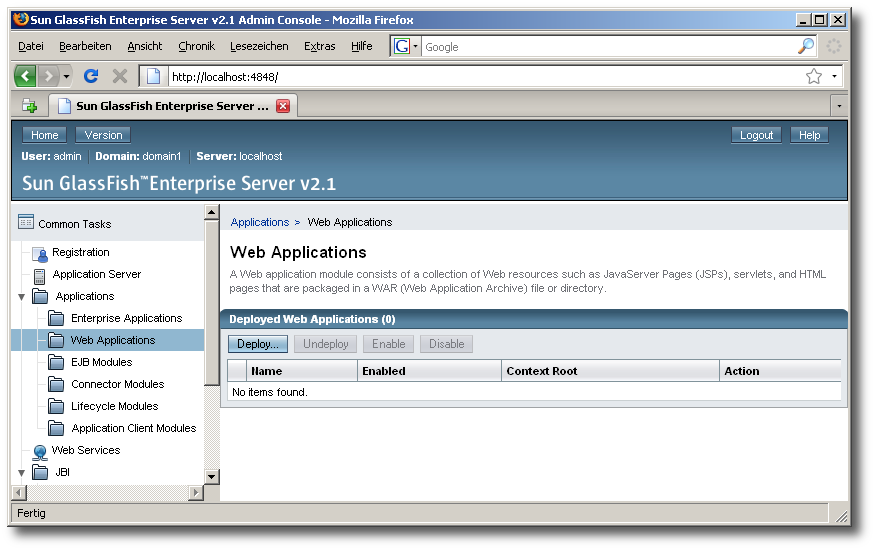
After having downloaded und unpacked the DemoKit you should now log into the administration console of your GlassFish application server – see section 3.1.1 for information on how to do that. WSs are deployed as web applications, so we have to go to the appropriate administration page: in the navigation on the left go to → . If you have a fresh GlassFish installation, then you should now see something very similar to Figure 3.3.
We will now deploy all WAR files one by one using the
button. After clicking this button you come to
the Deploy Enterprise Applications/Modules page of
GlassFish with which you can deploy a single WAR file. We
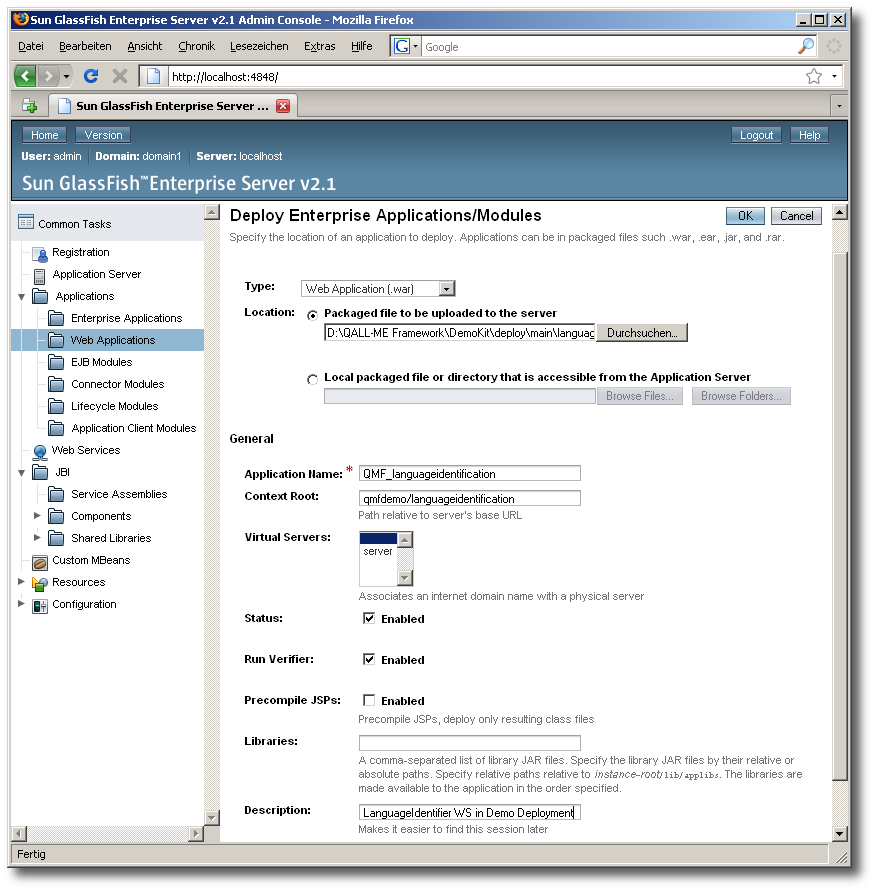
start with the system-wide components as they are needed in any case; Figure 3.4 shows the
page filled in with information for the deployment of the
LanguageIdentifier. For each deployment you should
first browse your local filesystem for the package file to be uploaded to the
server, i.e., the WAR file. Based on the name of this file
GlassFish will suggest an Application Name and a
Context Root. The former can basically be anything; the
name is only used for the identification of the web application in GlassFish. We
suggest to use some meaningful prefix for WSs that somehow
belong together as this may render finding applications easier later if you have
many of them: for this tutorial we have added the prefix “QMF_” to all
application names. The Context Root is more important: it
will be part of the URL under which your WS will be available
later. In principle this could be any piece of URL path; in this tutorial we add a “qmfdemo/” path prefix.
In the LanguageIdentifier example of Figure 3.4 the WS
URL that is created by GlassFish will be http://localhost:8080/qmfdemo/languageidentification/LanguageIdentifierWS.
Figure 3.4. The GlassFish Deploy Enterprise
Applications/Modules administration page filled in for the
deployment of the WAR file of the
LanguageIdentifier component.
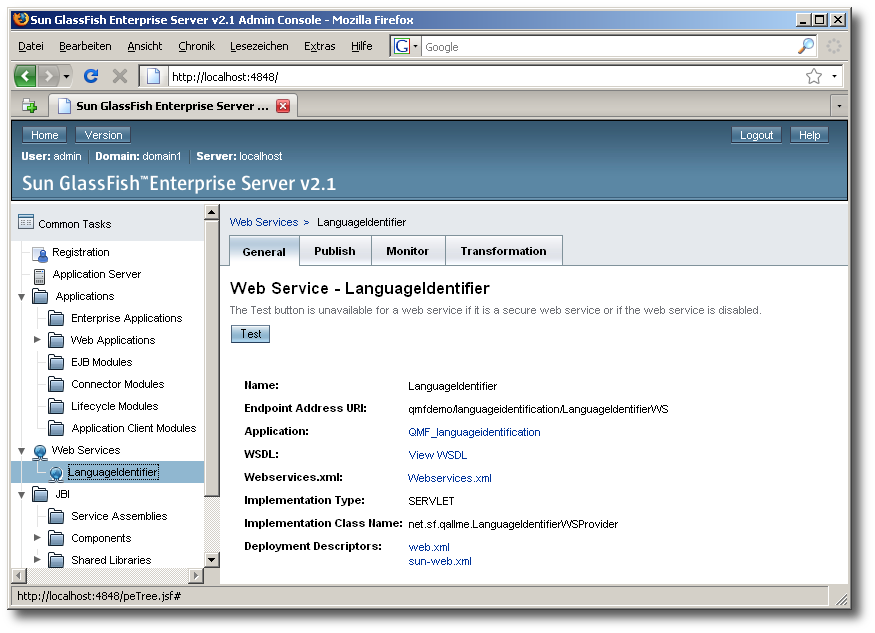
In addition you can optionally enable the “Verifier” and enter a description for your web application. The verifier is especially useful when deploying your own WAR files for the first time: it may detect missing class files in your WAR package already during the deployment instead of running into errors later at WS runtime. When you deploy the WAR files from the tested DemoKit, there should be no problems at all, though, so you can also leave the verifier disabled. Click on one of the buttons to finish the deployment. For this demo there should be no errors at all. On the Web Applications administration page you should now find your freshly deployed WS as a web application. You may also want to check out the new Web Service page for the new WS which you can find in the navigation under ; it should be similar to the page in Figure 3.5.
Figure 3.5. The new Web Service page in GlassFish for the WAR
file we have just deployed for the
LanguageIdentifier.
Deploy all other system-wide WSs in the same way. Then deploy the WSs for at least one language and one location. For the rest of this tutorial we assume you use at least the German language specific demo subsystem and the location specifc subsystem for Germany.


